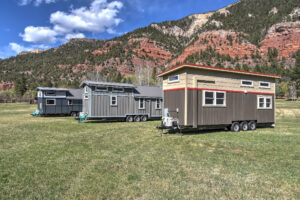
Key Takeaways
-
Qcells Q.TRON BLK M-G2+ panels offer a balance of efficiency and durability for residential solar installations.
-
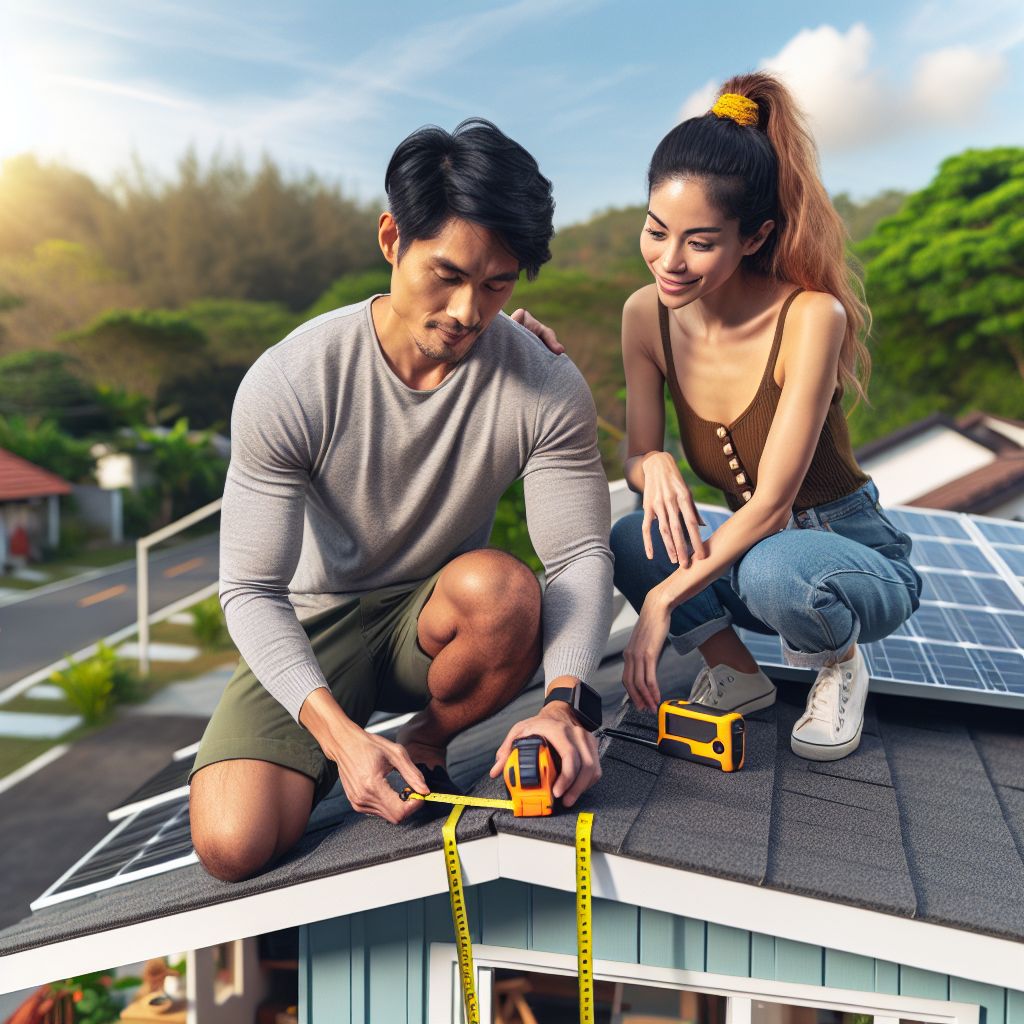
Before installation, it’s crucial to assess your roof’s suitability and gather the right tools.
-
Mounting systems are pivotal for the stability of your solar panels; choose wisely based on your roof type.
-
Properly securing the panels and setting up the electrical connections ensures safety and optimal performance.
-
Maintenance and monitoring post-installation are straightforward with the right resources and guidelines.
Why Choose Qcells Q.TRON BLK M-G2+ for Your Home
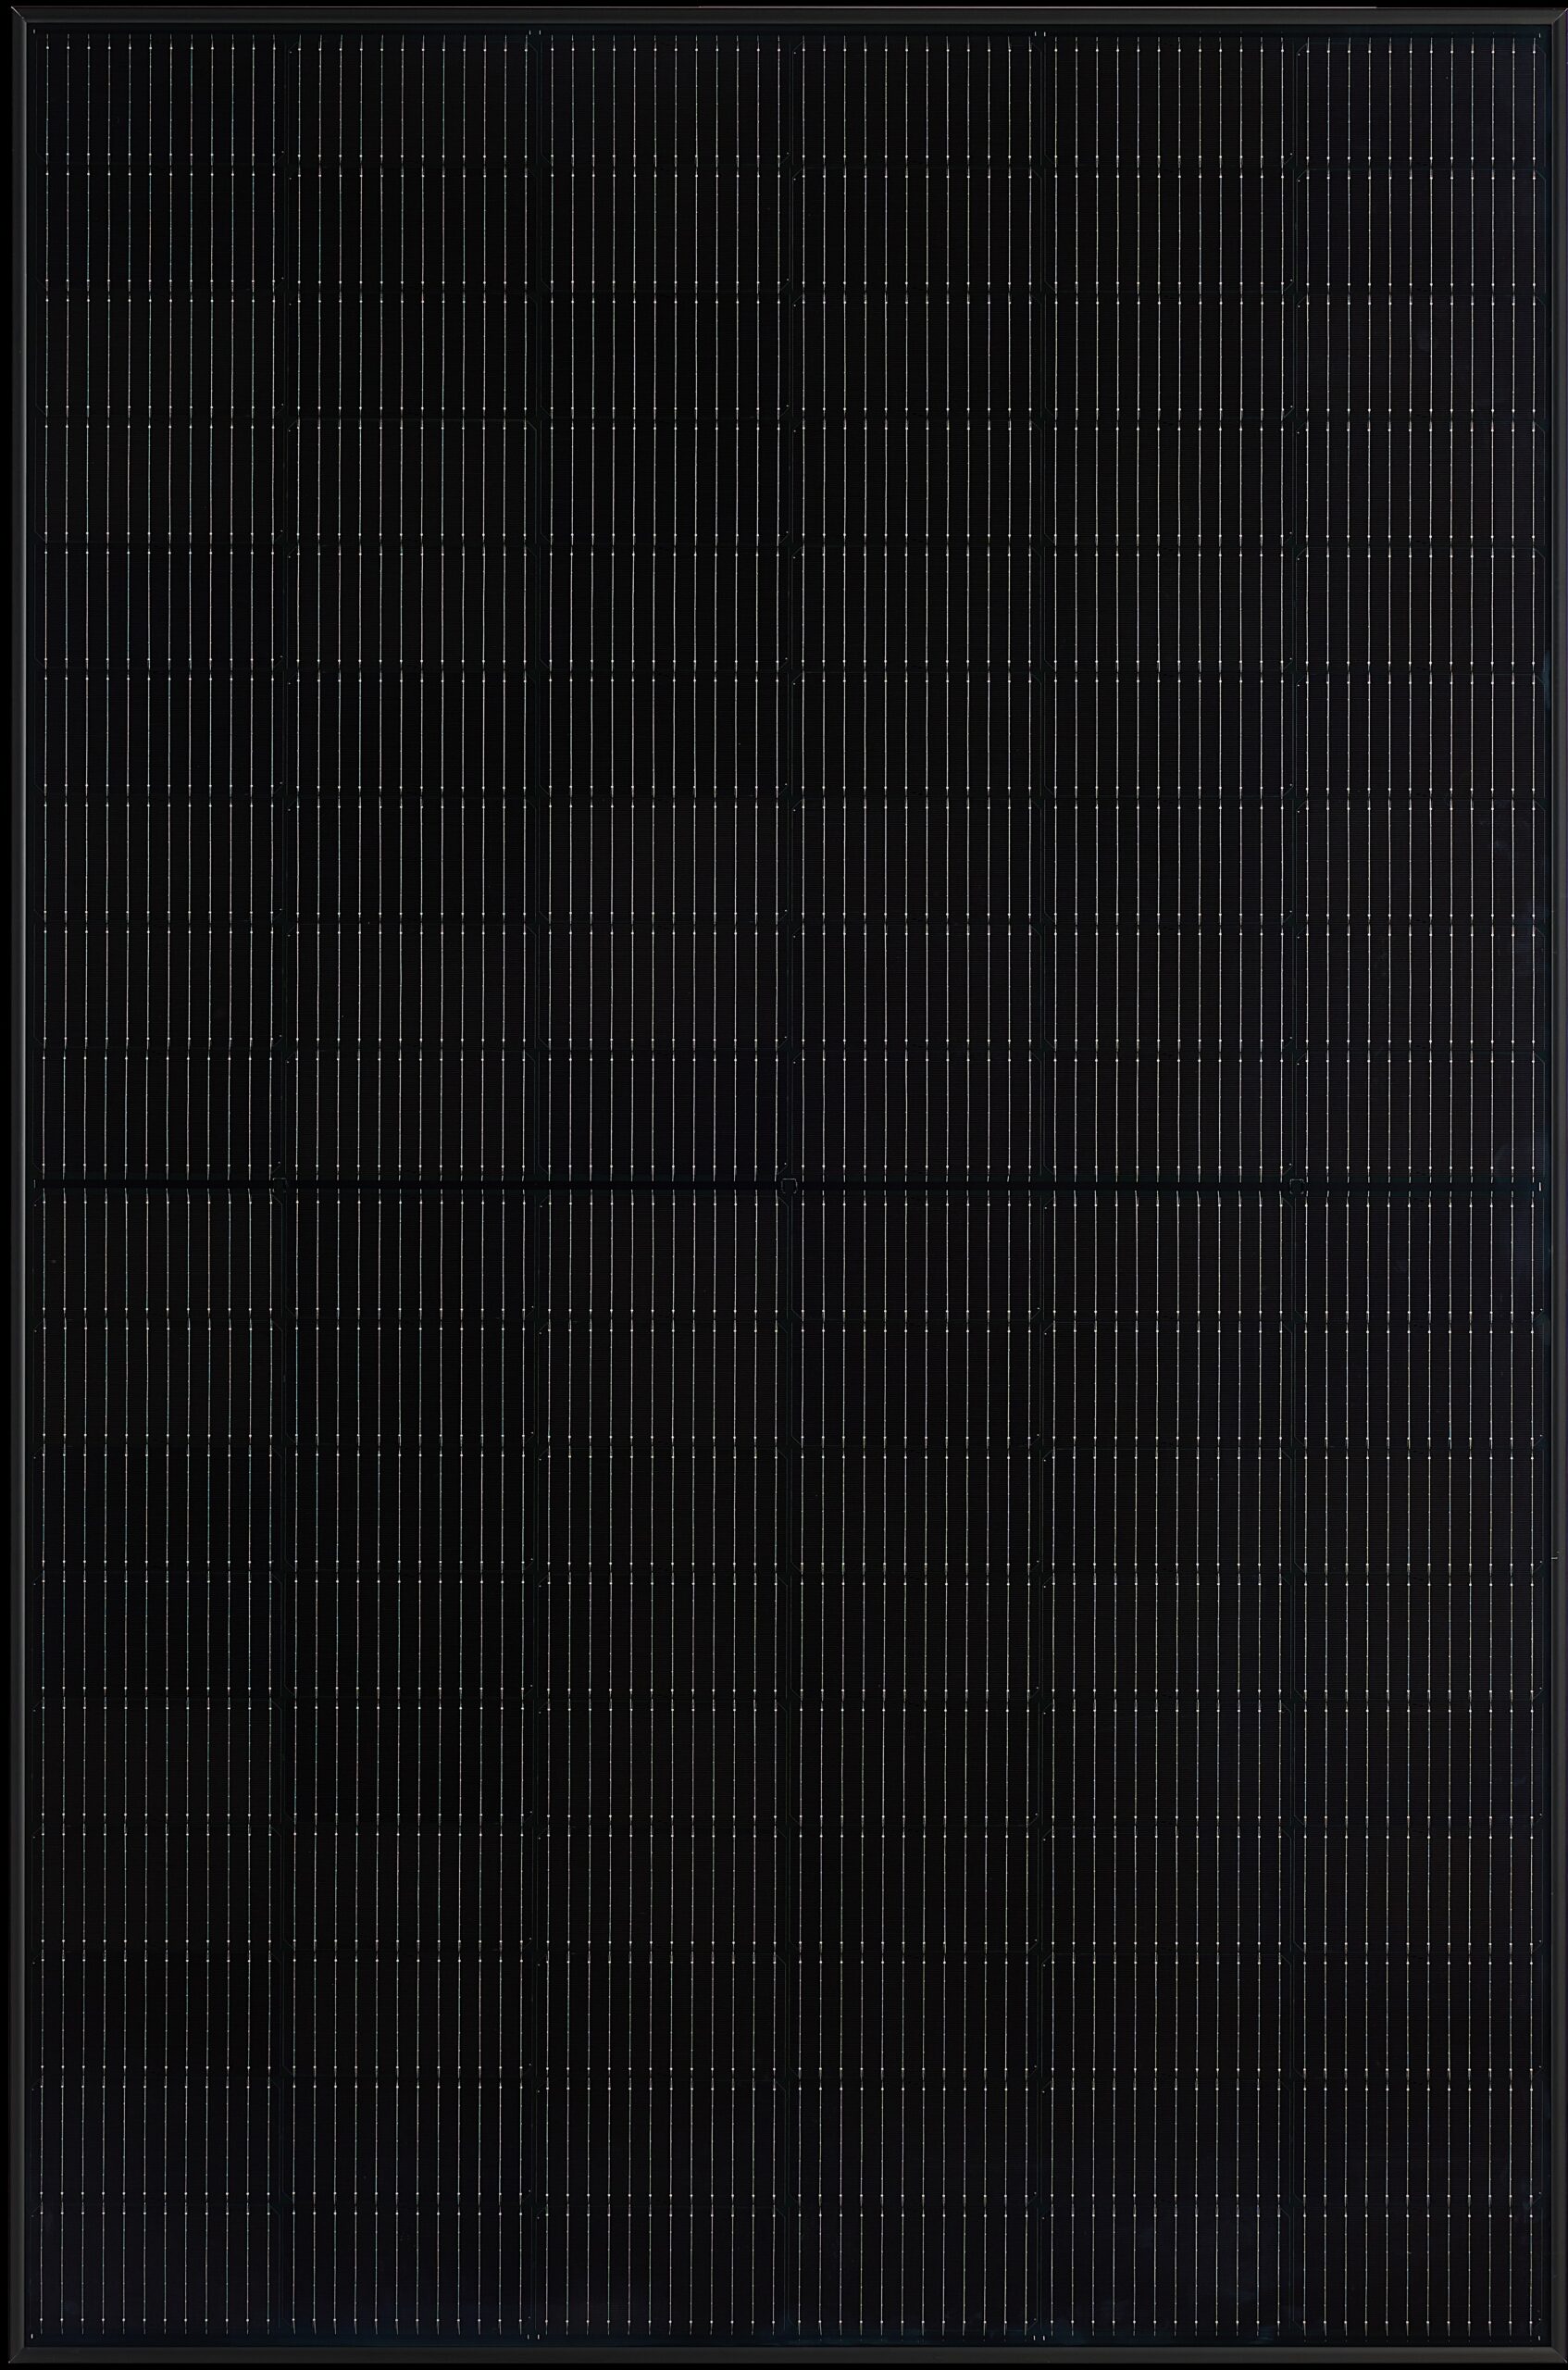
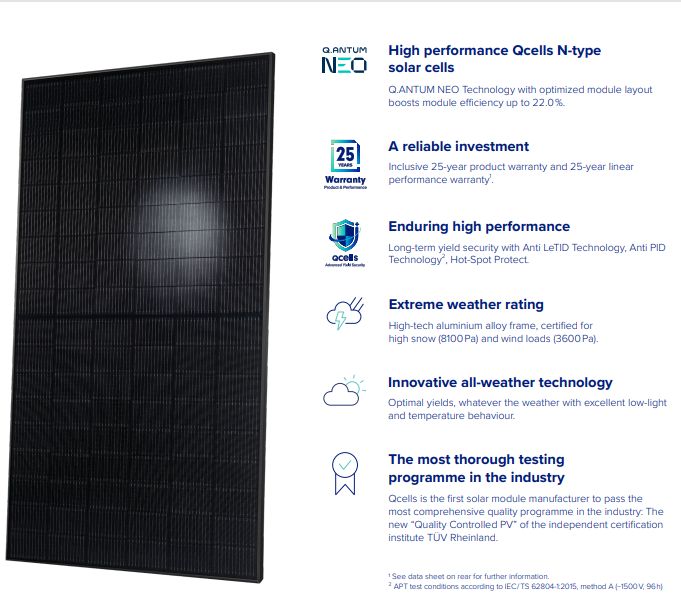
When you’re considering solar energy for your home, you’re not just buying panels; you’re investing in a greener future and potential savings on your energy bills. The Qcells Q.TRON BLK M-G2+ panels are a standout choice because they blend high performance with long-term reliability. With an efficiency rating of 21.4%, these panels promise to convert a good portion of sunlight into clean energy for your home.
| Qcells Q.TRON BLK M-G2+ Specifications |
|————————————–|——————|
| Rated Power Output | 425 W |
| Efficiency | Up to 22.4% |
| Cell Type | Monocrystalline |
| Number of Cells | 108 |
| Voltage (VOC) | 36.61 – 36.71 V |
| Current (A) | 10.79 – 10.90 A |
| Price Range | $299.99 |
Top Benefits of High-Efficiency Solar Panels
Efficiency is king in the solar world. A higher efficiency rating means more power generation per square foot, which is essential, especially if your roof space is limited. Moreover, with Qcells’ innovative Q.ANTUM NEO Technology, these panels are designed to perform exceptionally well in various weather conditions, ensuring you get the most out of your investment year-round.
Understanding the 25-Year Warranty
Qcells stands behind their product with a robust 25-year warranty. This confidence is built on the assurance that the Q.TRON BLK M-G2+ model will maintain at least 90.58% of its initial power output by the end of the warranty period. That’s a promise of enduring performance and peace of mind for you as a homeowner.
Pre-Installation Checklist
Evaluating Your Roof’s Solar Potential
Before diving into the installation process, take a moment to assess your roof. Does it have the right orientation and inclination? Is it free from shade for the majority of the day? These factors significantly influence the efficiency of your solar panels. A south-facing roof with a slope between 15 to 40 degrees is usually ideal.
Don’t forget to inspect the condition of your roof as well. It should be in good shape to support the solar panels for the next 25 years or more. If you’re unsure, consider having a professional evaluate it for you.
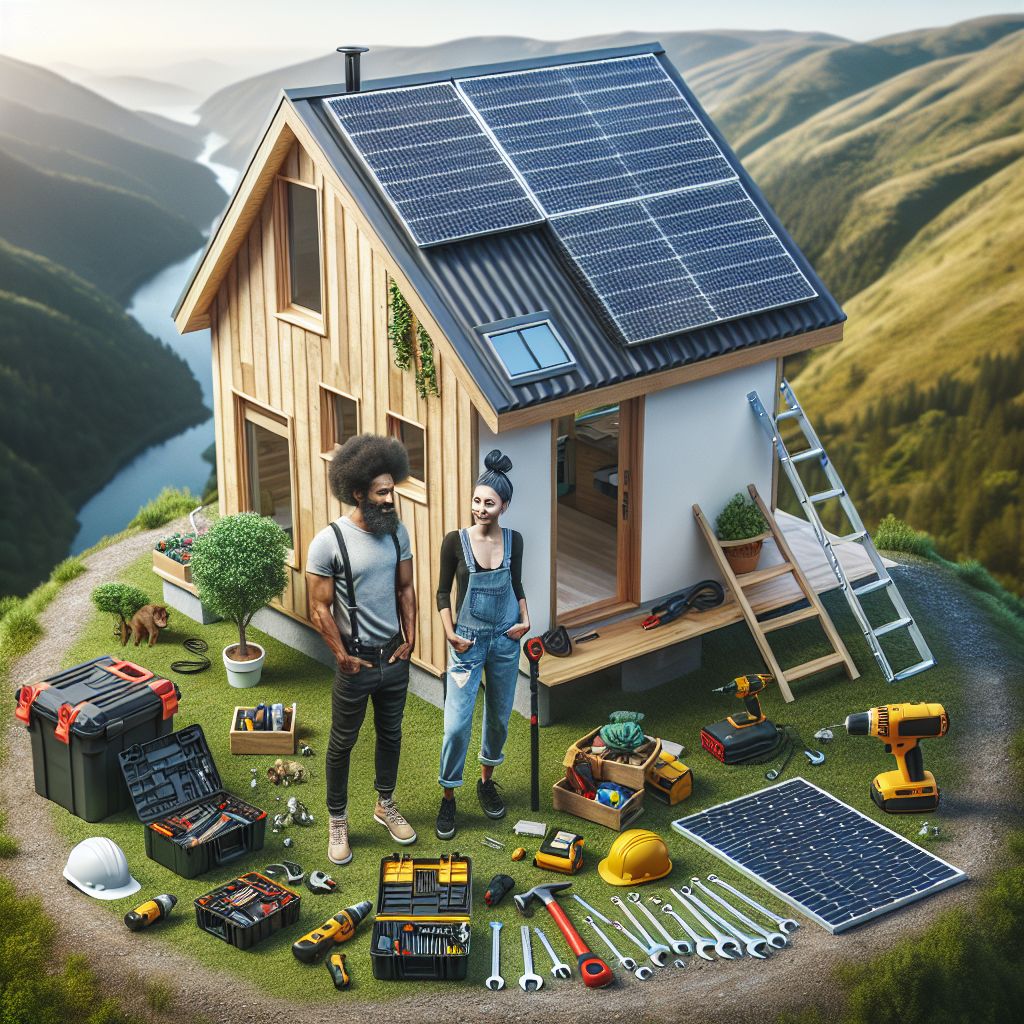
Gathering the Necessary Tools and Equipment
You’ll need some basic tools to get started with the installation, including a drill, wrenches, and a ladder. Safety equipment is also non-negotiable—think hard hats, gloves, and safety harnesses if you’re working on a steep roof.
Mounting the Solar Panels
Types of Mounting Systems
There are two main types of mounting systems: on-roof and in-roof. On-roof systems are more common and are attached directly on top of your existing roof. In-roof systems, on the other hand, replace a portion of the roof tiles and integrate the panels into the roofline, offering a sleeker look.
Step-by-Step Guide to Secure Mount Installation
-
Start by locating the rafters on your roof; this is where you’ll secure the mounts.
-
Next, drill pilot holes, being careful not to damage the roof membrane.
-
Attach the mounts using the provided bolts and ensure they are watertight.
-
Finally, attach the rails to the mounts, which will hold the solar panels in place.
Remember, safety first. If you’re not comfortable working on the roof or handling electrical components, it’s best to hire a professional installer.
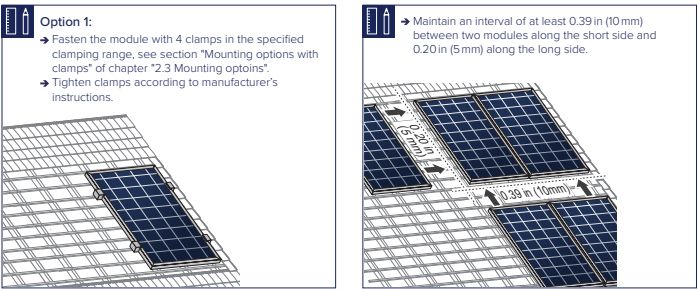
Securing Panels to the Mounting System
Once your mounting system is in place, it’s time to secure the solar panels. Carefully lift each panel onto the mounting rails and use the clamps provided to fix them in position. It’s vital to leave a small gap between each panel to allow for thermal expansion. Ensure all panels are aligned and tightened securely to withstand wind and weather conditions.
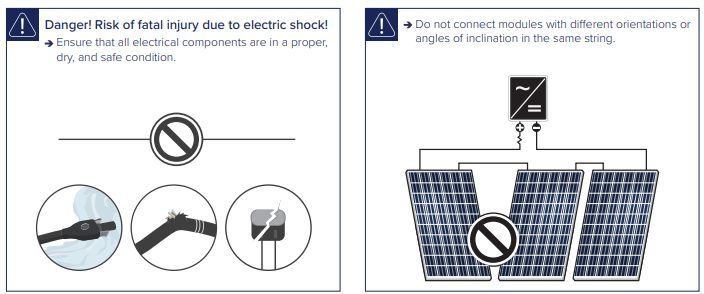
Electrical Setup and Safety
With the panels mounted, the next step is to set up the electrical connections. This step is crucial and should be handled with utmost care. Always shut off the power from the main panel before starting any electrical work. Use the proper gauge of wiring as specified in the installation manual to prevent overheating.
Wiring the Solar Panels
Wiring the panels involves connecting each panel in a series to form a string. You’ll connect the positive terminal of one panel to the negative terminal of the next, creating a continuous electrical path. Ensure that all connections are tight and secure. Use conduit to protect the wires from environmental exposure.
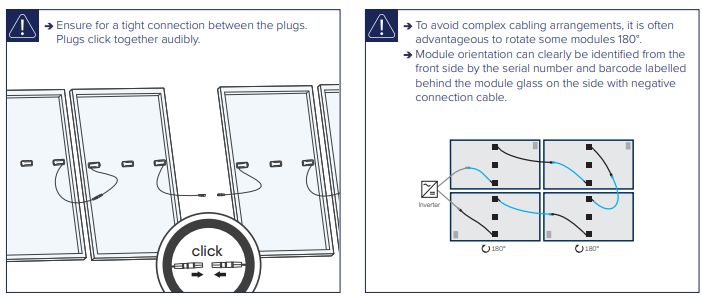
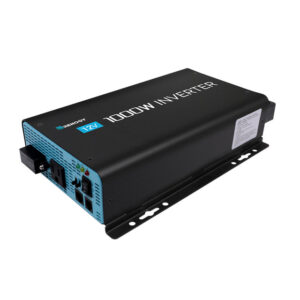
Connecting to the Inverter
The inverter is a critical component that converts the DC electricity generated by your solar panels into AC electricity that can be used in your home. Connect the ends of your panel strings to the inverter, ensuring that the polarity is correct. Once connected, the inverter will synchronize the solar-generated electricity with your home’s power and the grid.
Grid Connection and Net Metering
After the inverter setup, you’ll connect your system to the grid. This allows you to feed excess energy back into the power grid and potentially receive credits from your utility company—a process known as net metering. An electrician should perform this step to ensure compliance with local regulations and utility requirements.
Optimizing Solar Panel Efficiency
For maximum efficiency, solar panels should be positioned to capture the most sunlight. This means installing them at an angle that matches your latitude and facing them true south in the Northern Hemisphere. Avoiding shade from trees, chimneys, and other structures is also crucial to maintaining high energy output.
Positioning for Maximum Sun Exposure
When installing your panels, consider the path of the sun across the sky and any potential obstructions. Even small shadows can significantly reduce the performance of your solar array. Use a solar pathfinder or similar tools to help determine the best placement for your panels.
Mitigating Shading and Environmental Factors
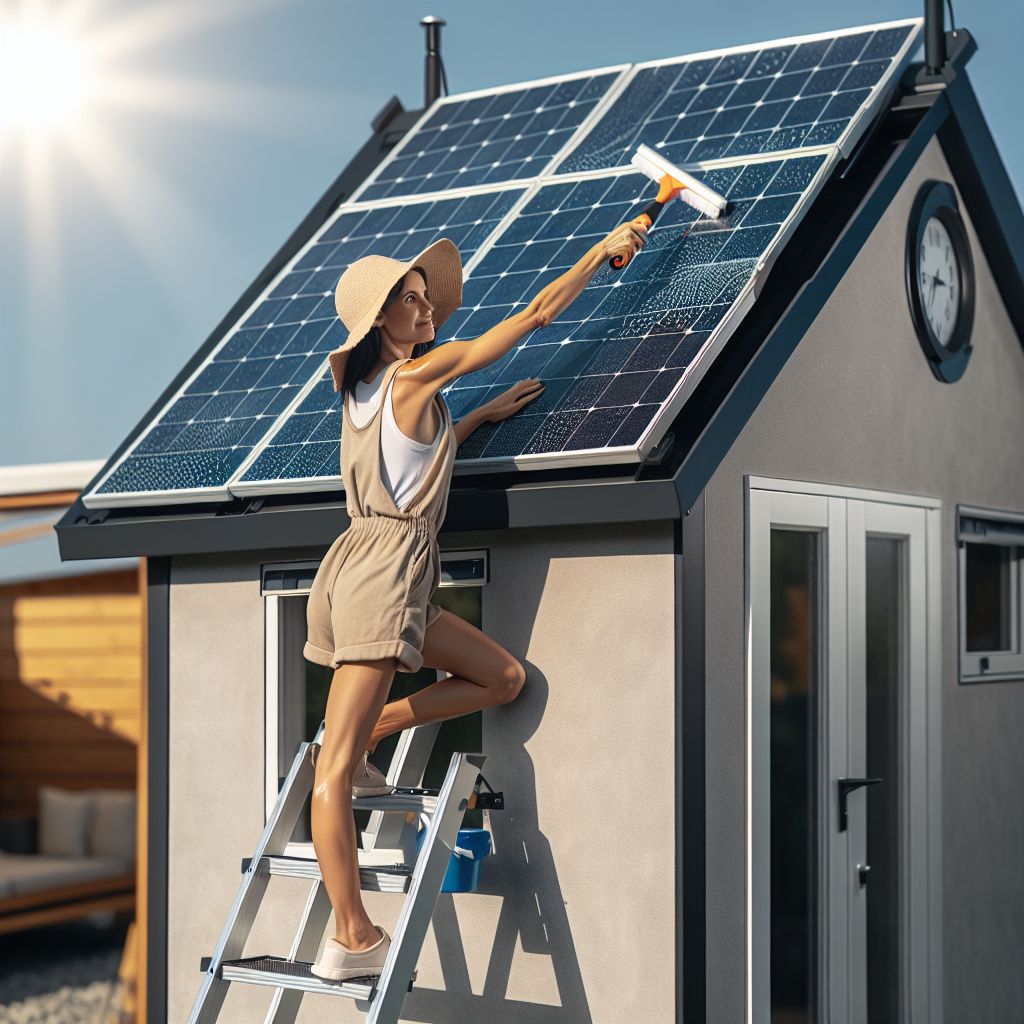
Besides shading, environmental factors like dust, snow, and bird droppings can affect your panels’ efficiency. It’s essential to keep the panels clean and clear of debris. Consider installing guards or spikes to deter birds and regularly check for accumulated dirt or snow, which can be gently removed with a soft brush or squeegee.
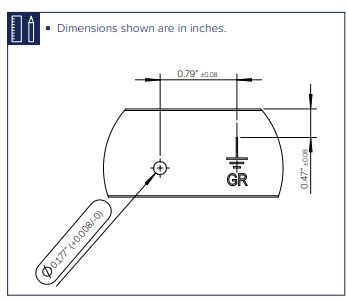
Grounding Qcell Tron BLK M-G2+
Final Inspection and Commissioning
Once your system is fully installed, a final inspection by a certified professional is necessary to ensure that everything is up to code. They will check the mounting, wiring, and connections to ensure everything is safe and ready for operation.
Ensuring Quality and Safety Compliance
Quality and safety compliance are non-negotiable. The inspector will verify that all components are installed correctly and that the system complies with electrical and building codes. This step protects you by ensuring the installation is safe and eligible for any available incentives or rebates.
Activating Your Solar Energy System
After passing the inspection, it’s time to activate your solar energy system. Turn on the main switch to the solar array, and then activate the inverter. You should see the inverter light up and start tracking your energy production. Congratulations, your home is now powered by the sun!
After Installation: Maintenance and Monitoring
Post-installation, maintenance is minimal but important. Most modern solar panels are very durable and require little upkeep. However, regular monitoring can help spot any issues early on. Many systems come with apps or online tools that allow you to track your solar production and ensure your panels are working efficiently.
Regular Cleaning and Upkeep
-
Inspect your panels a few times a year for dirt or debris.
-
Clean the surface with water and a soft brush or cloth.
-
Trim any overhanging branches that may cause shading.
Monitoring Performance Through Apps and Online Tools
Most solar systems today come with monitoring software that allows you to see your system’s performance in real-time. You can track how much energy your panels produce and how much you’re using, which can help you make more informed decisions about your energy consumption.
Frequently Asked Questions (FAQ)
How Long Does the Installation Process Take?
The installation process can vary, but typically, it takes a few days to a week to install a residential solar panel system, depending on the size and complexity of the project.
Can I Install Qcells Solar Panels Myself?
While it’s possible to install solar panels yourself, it’s recommended to have them installed by a certified professional to ensure safety and compliance with local regulations and to validate your warranty.
What Is the Expected Lifespan of Q.TRON BLK M-G2+ Panels?
Q.TRON BLK M-G2+ panels are designed to last at least 25 years, with a performance warranty guaranteeing significant energy production over that period.
Do These Panels Work in All Weather Conditions?
Yes, these panels are built to withstand various weather conditions, including snow, wind, and hail, and are rated for high performance in low-light environments.
Remember, solar energy is a long-term investment. By choosing Qcells Q.TRON BLK M-G2+ panels and following the guidelines for installation and maintenance, you’re setting up your home for decades of sustainable energy. Enjoy the journey towards a greener, cleaner future!